
DIY Roofing Safety Tips: Safety Gear, Tools, & Equipment
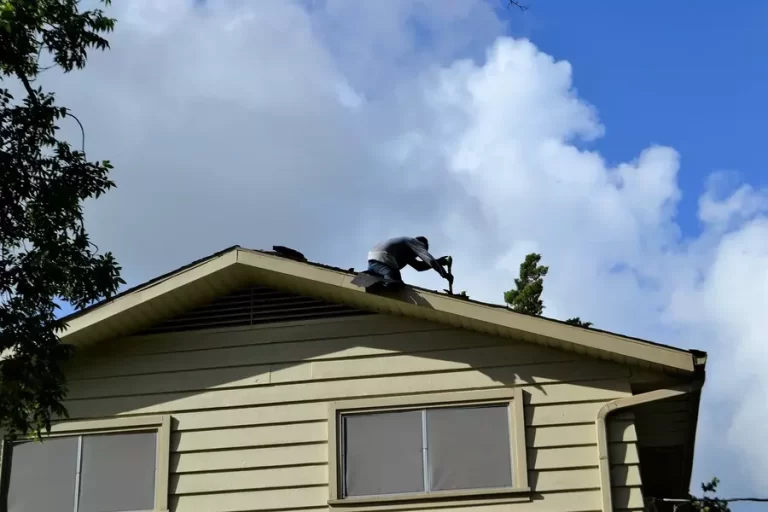
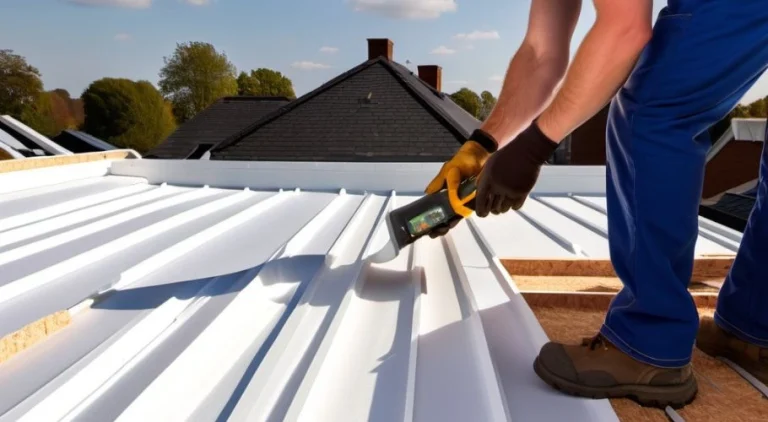
Preparation: Safety Starts Before You Climb
Before you even think about climbing onto your roof, preparation is something you should prioritize.
What exactly is the scope of your DIY project? Are you replacing a few shingles, patching up damaged roofing materials, or tackling something a bit more extensive? Or maybe you’re just going up there for your regular roof inspection. Whatever it is, knowing your scope will help you gather the right tools and materials.
Aside from that, always check the weather forecast before scheduling your work. A dry, calm day is what you want, as extreme temperatures, rain, or strong winds can make the job more dangerous and riskier than it already is. Early mornings or late afternoons are the best times to work because direct midday sun can make roofing surfaces unbearably hot.
Safety Gear You Should Have for DIY Roofing
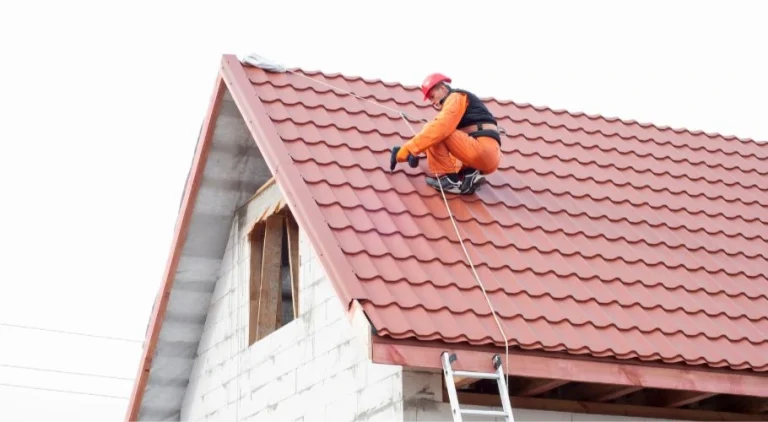
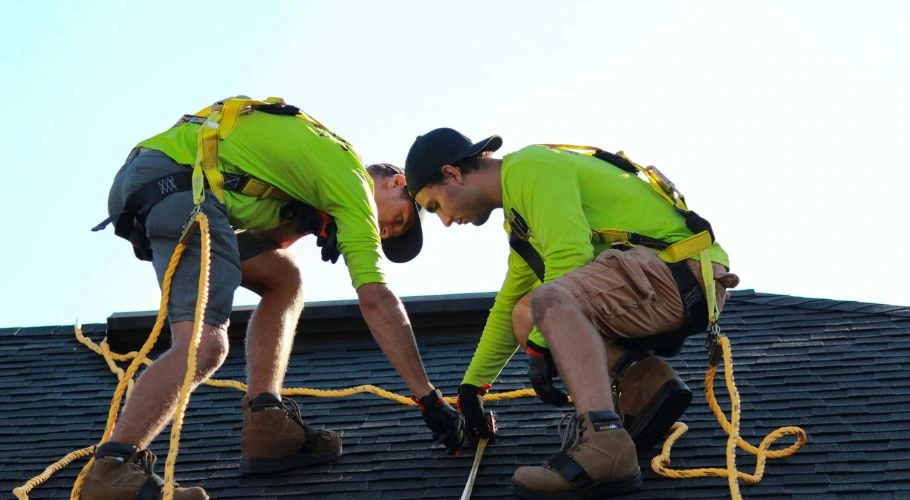
1. Full-Body Harness and Fall Arrest System
One of the most important safety measures for any roofing project is to wear a full-body harness connected to a fall arrest system. A product like the Guardian Fall Protection Velocity Harness offers great support and adjustability so you have a safety harness with a secure fit. Combine this with a self-retracting lifeline, such as the DBI-SALA Ultra-Lok, and an anchor point securely fastened to the roof’s structure. These fall protection systems work together to protect you from injury caused by a fall, and even death in worst cases.
2. Roofing Ladder With Stabilizers

Your ladder is the gateway to your project, so it’s important to get one designed for roofing work. The Werner D6200-2 Series Fiberglass Ladder is sturdy, non-conductive, and equipped to handle tough conditions. You can pair it with another safety equipment—a ladder stabilizer—to prevent slipping or tilting, particularly when working on uneven ground.
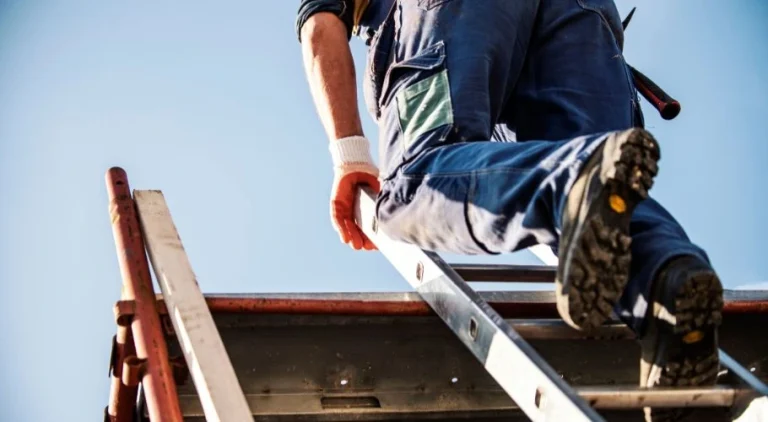
3. Roofing-Specific Footwear
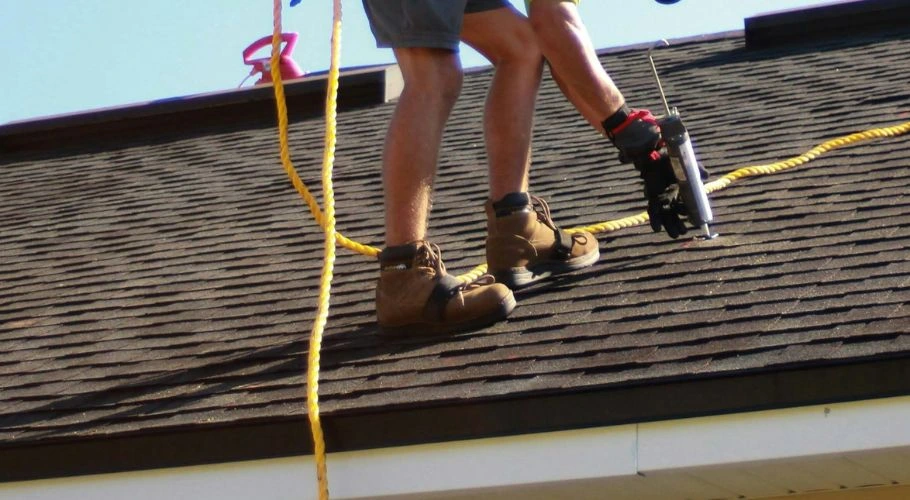
Proper footwear is just as important as your safety harness when it comes to roof safety. The Cougar Paws Performer Boots are designed specifically for roofing, featuring replaceable traction pads that provide excellent grip on asphalt shingles and other roofing materials to help you avoid slips.
4. Safety Goggles, Hard Hats, and Gloves
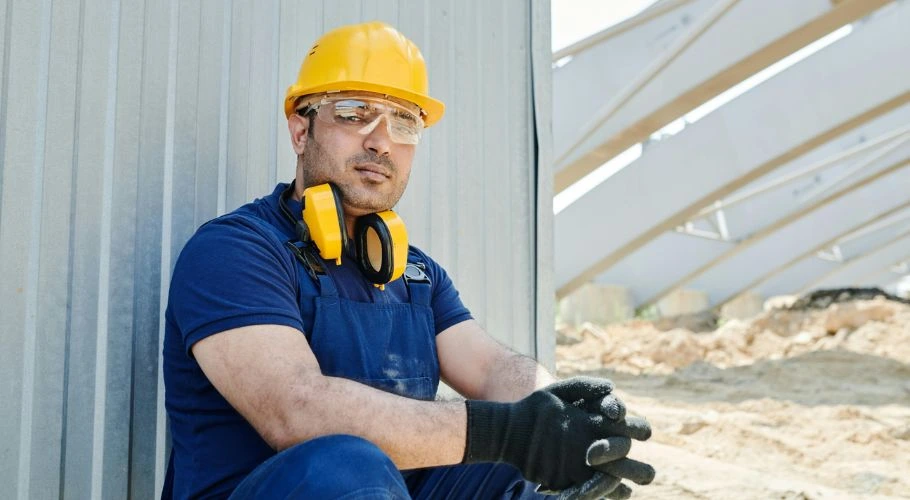
Don’t forget hand, head, and eye protection! To keep DIYers and roofers safe from flying debris and sharp edges, safety goggles, hard hats, and gloves are a must. The 3M Safety Goggles are a great option for full-eye protection, while Ironclad Ranchworx Gloves are sturdy and flexible, making them great for handling all sorts of tools and materials.
Tools You’ll Need for the Job
1. Roofing Nail Gun
Power tools are a necessity for tasks like replacing shingles. For example, a roofing nail gun can save you a lot of time and effort. The Bostitch RN46 Coil Roofing Nailer is lightweight and reliable, making it a popular choice for DIYers.
2. Roofing Brackets (Roof Jacks)
If you’re working on a steep roof, you’ll need roofing brackets to create a stable platform. The Qualcraft Steel Roof Brackets are adjustable and designed for sturdiness, providing extra security on sloped surfaces.

Sometimes, a good old-fashioned hammer or roofing hatchet is just what you need. A multi-functional roofing hatchet, such as the AJC Adjustable Roofing Hatchet, includes a built-in gauge for shingle alignment. This makes it much easier to work precisely.
4. Utility Knife
Cutting shingles or roofing materials demands precision, and having a reliable utility knife tucked in your tool belt will make the job much easier. If you’re looking for recommendations, the Stanley FatMax Utility Knife is known for its durability and ergonomic design.
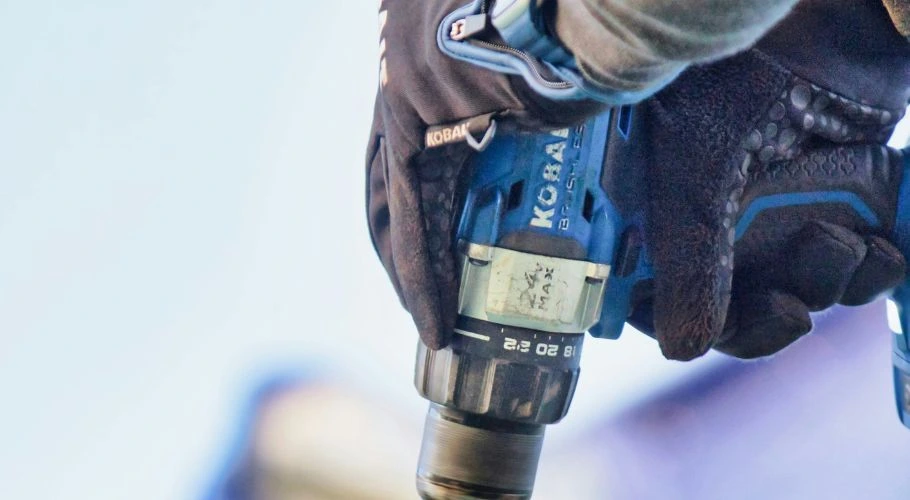
5. Cordless Power Tools
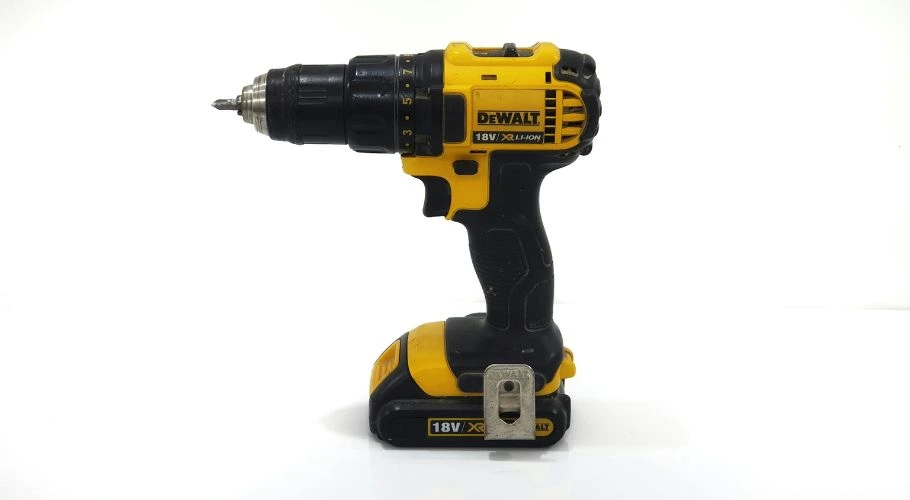
Using cordless power tools means there’s a smaller chance of you tripping on tangled cords while you’re working on the roof. The DeWalt 20V MAX Cordless Drill is a great choice for driving screws or drilling pilot holes quickly and safely.
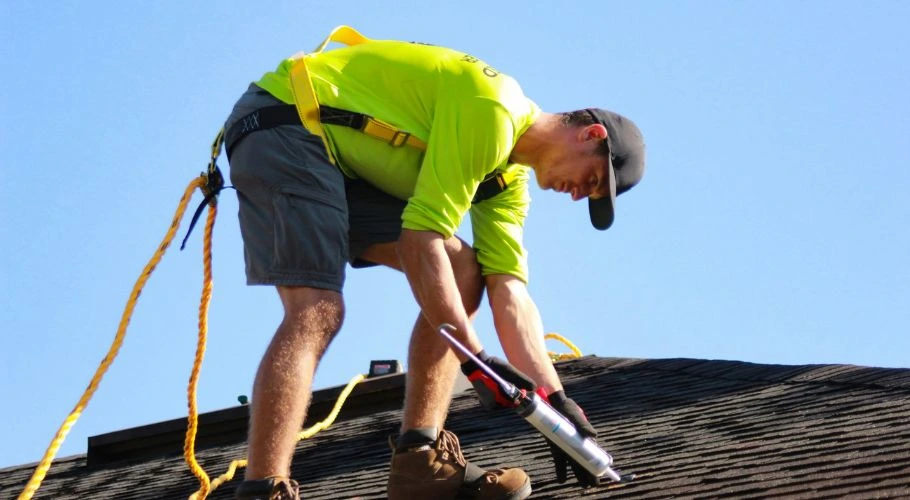
Tips for Working Safely on the Roof
Having all the necessary tools and equipment is just the beginning. Once you’ve gathered everything you need, it’s time to get to work—but safety should remain your top priority throughout the project.
First things first: clear your work area. Dirt, moss, or loose shingles can make your roof slippery and hazardous. Use a stiff broom or leaf blower to clean the area before starting your repairs. Additionally, remember to always keep your workspace organized to avoid stepping on tools or materials.
When positioning your ladder, place it on a stable, level surface and angle it correctly—that is, roughly one foot out for every four feet of height. Place your ladder far from power lines as well to avoid potential electrocution.
Here’s another thing to keep in mind: while working, always stay aware of your surroundings. Keep an eye on the roof’s edges and avoid stepping backward without looking. Use chalk lines or a straight edge to mark your area if you think it’ll help you work more safely.
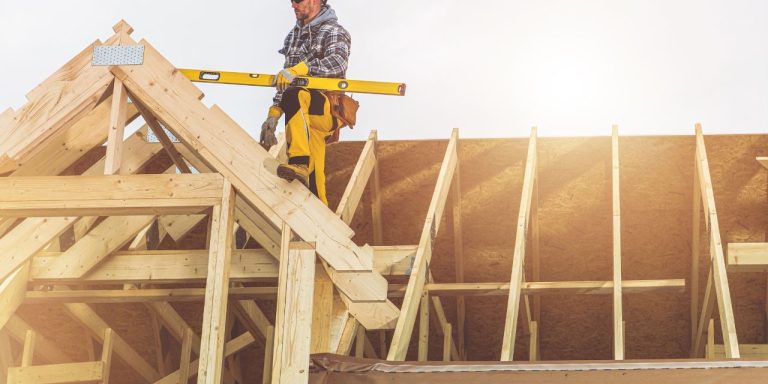
Know When to Call the Pros
Remember, small mistakes in roofing can have serious consequences, and some roofing tasks might just be too dangerous for DIYers to perform. That’s why you should be able to recognize when a job is beyond your skill set or physical abilities. Tricky, complex issues like structural damage, extensive leaks, or working on extremely steep roofs should always be handled by professional roofers.
Robbins Roofing is always here to help or take on the project for you if needed. We offer commercial and residential roofing services, as well as weather damage repairs. Sometimes, letting the pros handle it is the safest and smartest choice you can make.
Need Professional Help With Your Project? Robbins Roofing Is Only a Call Away!
DIY roofing projects can be rewarding, but your safety should never be compromised. If you find yourself in over your head or need expert advice, our team will be happy to help you out! Visit our website or call us today to learn more about our roof repair in Oklahoma City.
Let us help you protect your home and get the job done right!