
Roof Inspection Checklist for Oklahoma Homes
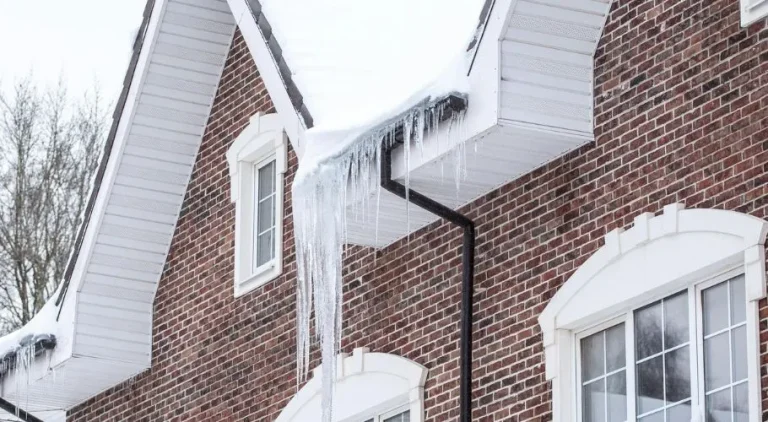
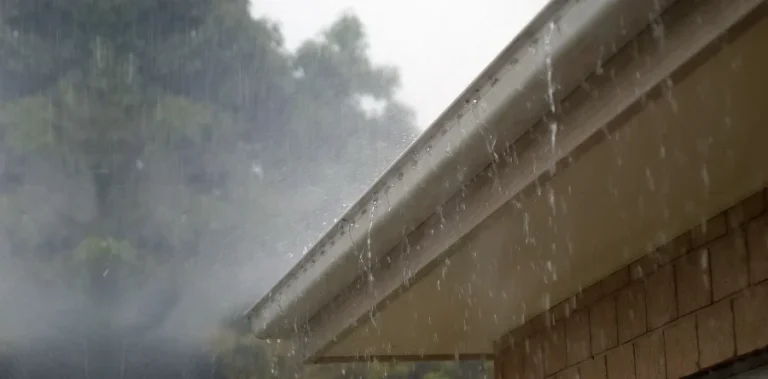
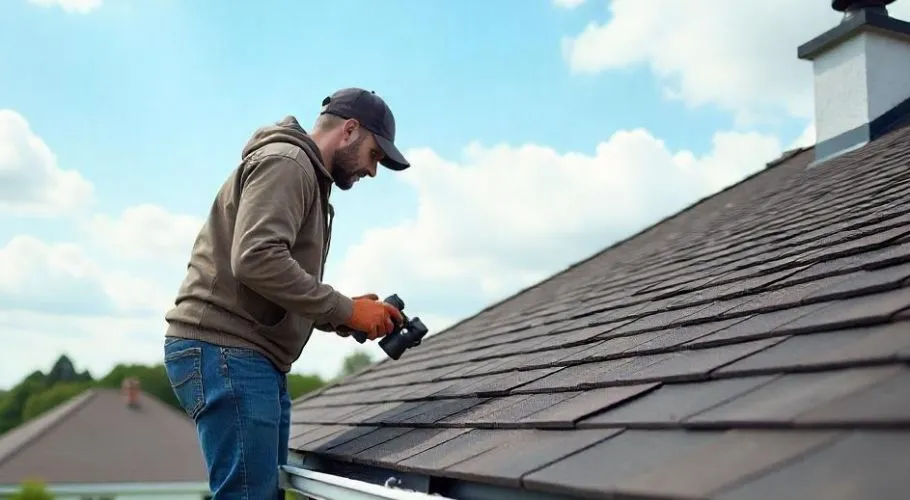
At Robbins Roofing, we always recommend giving your roof a proper checkup at least twice a year. Spring and fall are the best times to do this—right after the storm season and before winter. In this article, we provide a roof inspection checklist and a step-by-step guide for homeowners who want to catch issues early and know exactly what to look for on any kind of roof system or material.
Print it. Bookmark it. Share it with your neighbors. Most importantly, make sure you have our checklist ready the next time you do your regular roof inspection.
Your Step-by-Step Basic Roof Inspection Checklist
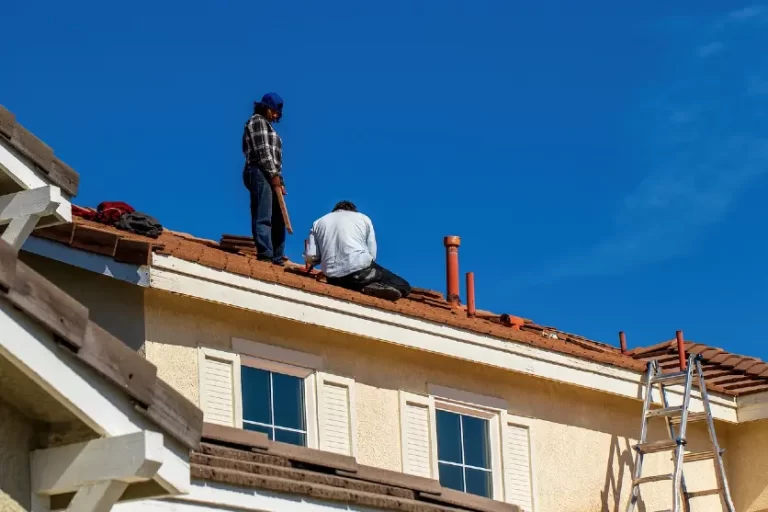
1. Exterior Roof Inspection
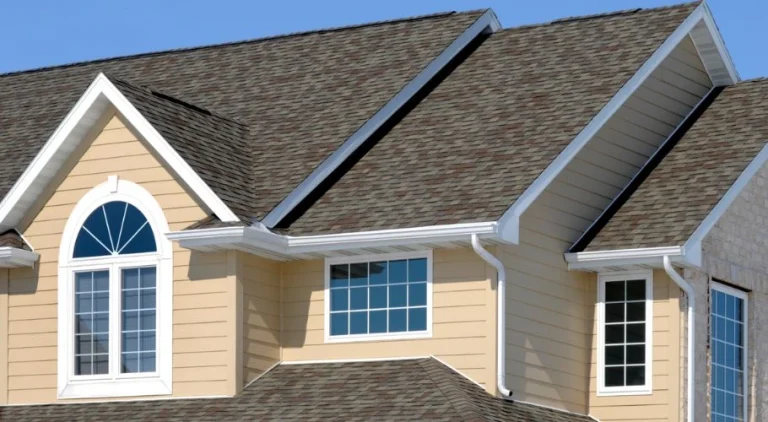
☐ Check your shingles or tiles. Look for any cracked, curled, or missing shingles on your roof surface. For tile roofs, look for visible cracks, chips, or slipped tiles. If you have asphalt shingles, check for bald spots or patches where the granules have worn off.
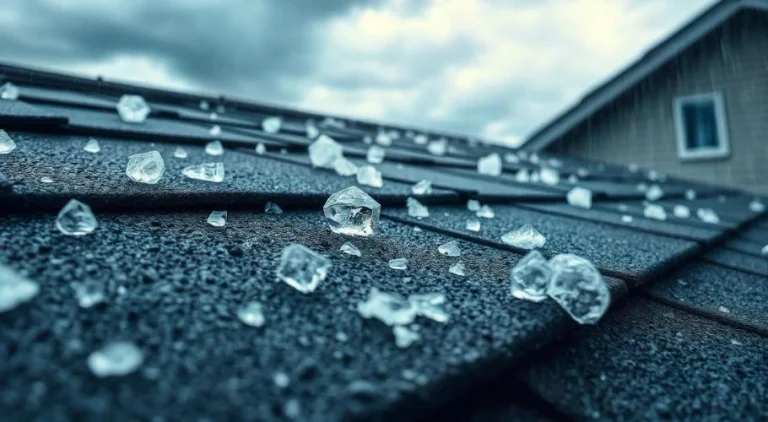
☐ Check your metal panels. For metal roofs, look for rust, loose seams, or dents (especially if there’s been hail). Check where panels meet at the seams and around fasteners. Any lifted or bent edges could lead to water intrusion and leaks the next time it rains.
☐ Inspect your flat roof material (TPO, EPDM, or modified bitumen). For commercial roofs, you’ll want to look for bubbles, tears, or areas where the surface has lifted. After rain, check for standing water and keep in mind that flat roofs should drain completely within 48 hours.
☐ Inspect flashing and roof edges. You’ll find flashing around roof penetrations and elements like chimneys, vents, dormers, and skylights. Make sure your flashing isn’t rusted, lifted, or missing pieces as this can lead to leaks and affect underlying roofing components like the roof deck and rafters.
☐ Check your gutters and downspouts. Debris clogs gutters fast. Make sure they’re not full of leaves, sticks, twigs, or roofing granules. Run a hose through them if needed to make sure water flows out the bottom without leaking over the sides or back.
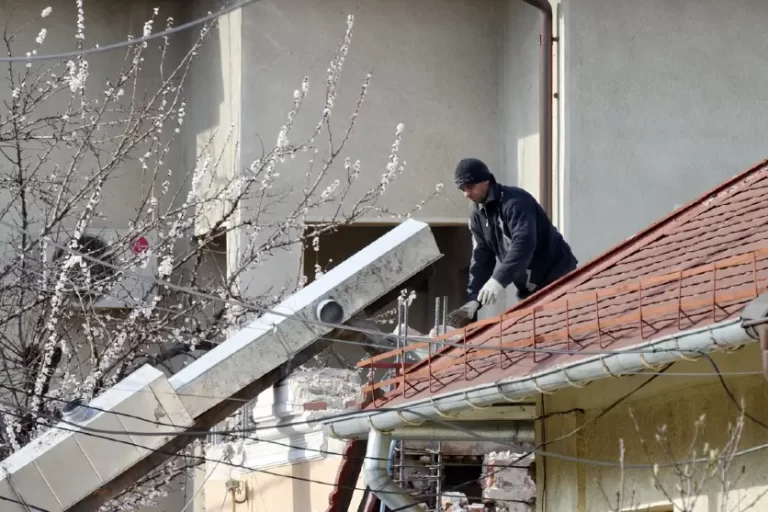
☐ Check your chimneys, skylights, and vents. Make sure these are properly sealed. Look around for cracked mortar on chimneys, lifted shingles near skylights, or signs of trapped moisture around any vent pipes. Leaks usually appear in these areas and often need resealing.
2. Interior Roof Inspection
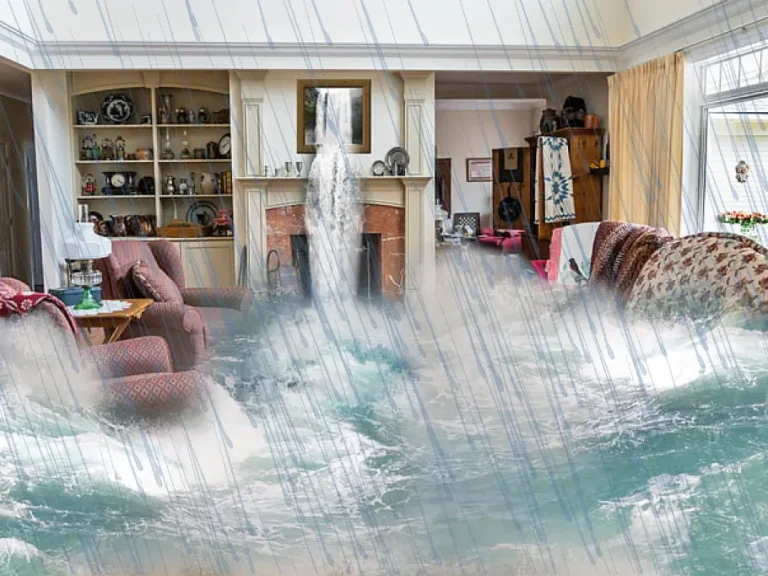
☐ Inspect your attic. Go up to your attic space and look for damp insulation, water stains, dark spots, or mold in the wood. If your attic smells musty or feels overly humid, it might be a sign that moisture is creeping in from above.
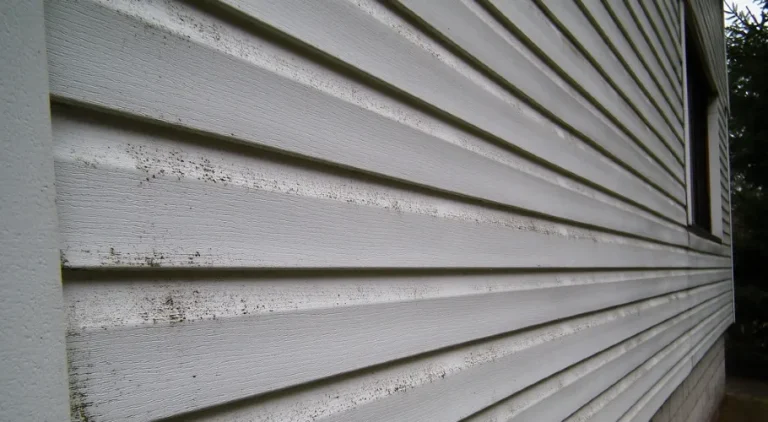
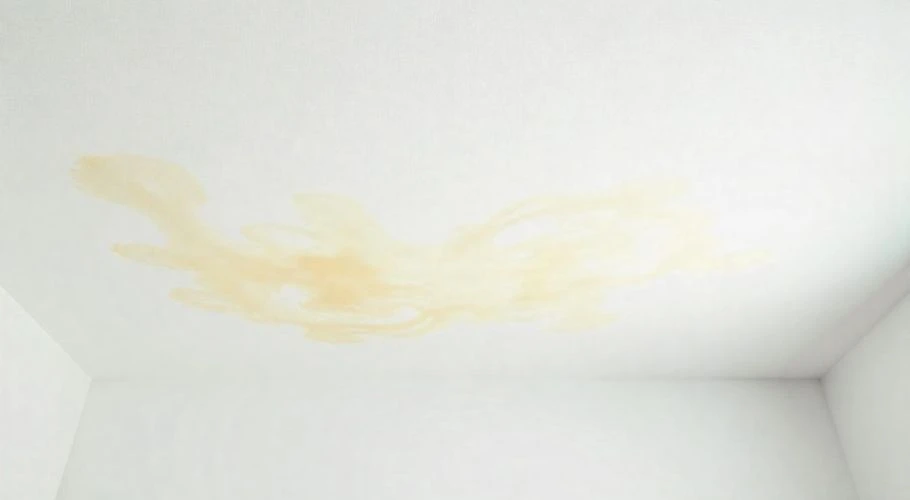
☐ Check ceilings and walls inside your house. Water stains, peeling paints, soft spots, or discoloration on ceilings or upper walls often means the roof is leaking—even if you can’t see the damage from outside. Pay special attention to corners and rooms that are directly beneath rooflines.
What to Do If You Spot Minor Issues
1. Clean Out Your Gutters and Downspouts
Clogged gutters are an easy fix that can prevent a bunch of other issues. To clean them, scoop out the junk, then flush them with water to see if everything’s draining properly. If they’re sagging or leaking at the seams, reseal the joints or tighten the brackets.
2. Replace a Few Shingles or Tiles
If you find some of your roofing materials missing or damaged, you can usually swap them out yourself. Just make sure you’re matching the same type, size, and color (especially if you’re in a homeowners association). Be careful while prying up the old ones and try not to damage the surrounding shingles.
3. Patch Small Cracks and Seal Flashing
Fixing tiny holes or minor flashing gaps helps prevent leaks, water damage, and mold growth. Using roofing sealant works fine as a temporary solution. Make sure the area is clean and dry before you apply anything, and give it a few hours to cure before it gets wet.
4. Trim Back Tree Branches
If there are tree limbs brushing against your roof—or worse, resting on it—they need to go. High winds can snap branches and do serious damage to roofing materials, especially to shingles and flashing.
Roof Problems that Need Professional Attention Right Away
1. Large Sections of Damaged Shingles or Missing Tiles
If you see more than a handful of damaged or missing roofing surface materials, it could be telling you that there’s a bigger structural damage underneath. A full roof inspection by a pro roofer can tell you if it’s a localized problem or if the whole roof needs attention.
2. Structural Issues (Sagging or Warping)
Sagging isn’t just cosmetic. It usually means moisture has gotten into the roof deck, and that’s a job for a professional roofing contractor. You’re looking at possible wood rot, weakened support beams, or even saturated insulation. All of these can worsen your roof’s condition if they’re not addressed right away.
3. Persistent Roof Leaks
If you’ve fixed the same leak more than once, stop patching it up and have a contractor take a look. Recurring leaks often mean the underlayment is damaged, or there’s a bigger problem hidden under the shingles.
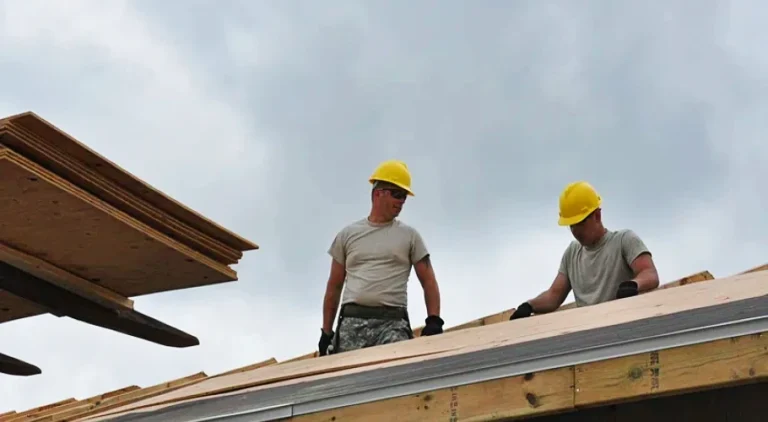
Call in the Pros for the Big Repairs
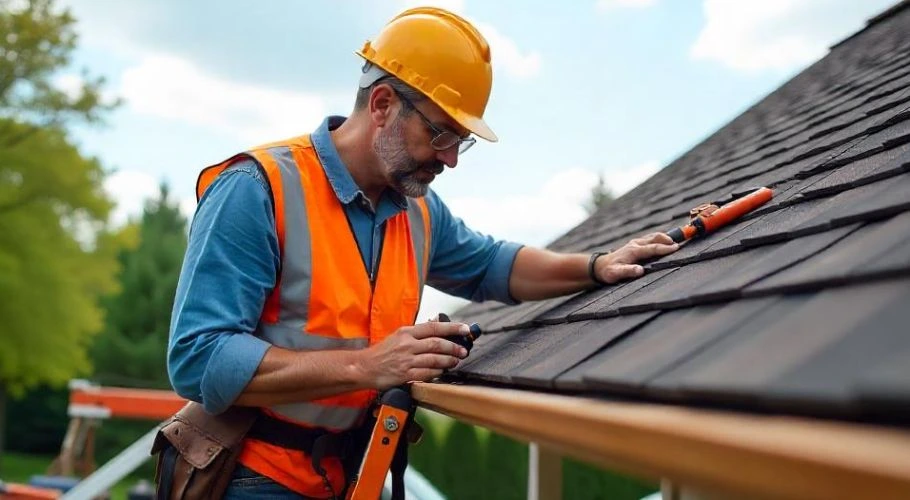
After following our roof inspection checklist, see if you find any issues that seem beyond your skillset. Our roofing professionals at Robbins Roofing are ready to jump in and provide repairs or professional roof inspection. We’ll help you bring your roofing system back to top condition.
We help homeowners across Oklahoma City, Mustang, Edmond, and Norman with inspections, repairs, and full replacements. Our team knows exactly how to spot issues before they turn into emergencies.
Looking for Professional Roof Inspectors? Call Robbins Roofing Today!
When you work with us, we’ll give you honest feedback and detailed documentation, and help you make the smartest call for your home.
Get in touch with Robbins Roofing today and give your roof the professional care it deserves.