Roof Flashing Basics: What OKC Homeowners Should Know

At Robbins Roofing, we’ve patched, replaced, and installed enough roof flashing around Oklahoma City to know more than just the basics. So if you’re a homeowner trying to figure out what flashing is and how it can help protect your roofing material, keep reading!
What Is Flashing?
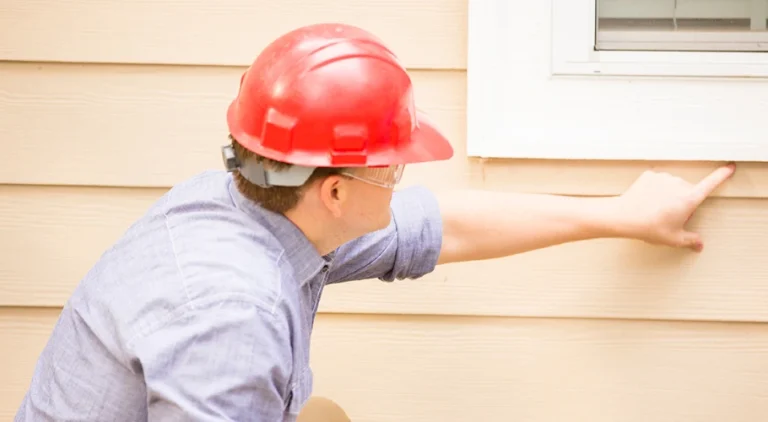
Flashing refers to the thin strips of sheet metal installed in the parts of your roof where roof leaks are most likely to develop, including areas around chimneys, pipes, valleys, walls, skylights, roof edges, and other spots where your roof intersects with vertical surfaces.
Flashing creates a watertight seal around those gaps. Instead of letting water puddle up on the roof plane or seep into corners where two different materials meet, flashing guides the water off the roof and into your gutters or straight into the ground.
If the flashing material is missing or installed incorrectly, you’ll end up with roof issues such as water leaks, rot, and mold growth.
Why Is Roof Flashing Important?
Water doesn’t need a big hole in your roof system to cause problems. It only needs a tiny gap between your roof shingles and, say, your chimney or wall siding. Without a properly installed roof flashing, that gap allows rainwater to seep straight into your attic or wall cavity.
Flashing keeps the vulnerable spots on your roof surface sealed and directs water away quickly. It gives your shingles, underlayment, and roof deck protection, stopping those leaks from escalating. Additionally, thanks to the proper seal provided by flashing, it also promotes your home’s energy efficiency because it helps prevent drafts, moisture intrusion, and heat loss through vulnerable roof joints and seams.
Different Types of Roof Flashing
The various parts of your roof need different types of roof flashing to make sure they actually get waterproof seals. These are the most common types you might find on your roof:
1. Base Flashing
Base flashing sits at the bottom of roof penetrations, like chimneys or vent stacks. Its job is to direct water to the roof so it can drain away properly.
2. Step Flashing
Step flashing is used where your roof meets a vertical wall, like around dormers or where your roof bumps into your siding. It’s installed in layers, shingle by shingle, like metal shingles themselves. Water flows down along each “step” of the flashing surface instead of pooling there.
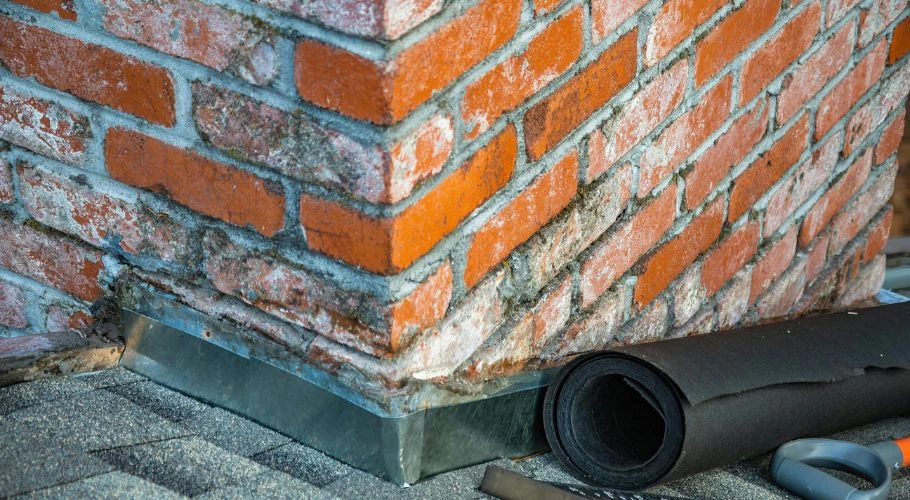
3. Chimney Flashing and Skylight Flashing
These areas usually use multiple flashing types, like base, step, and counter flashing, to fully wrap and seal all sides of a chimney or skylight. Skylight manufacturers may include flashing with the actual skylight; otherwise, a professional roofer can customize one for you.
4. Counter Flashing
When a roofer installs counter flashing, it overlaps the base flashing and is tucked into brick or siding. The combination of base and counter flashing is what keeps your chimney from becoming an entry point for water.
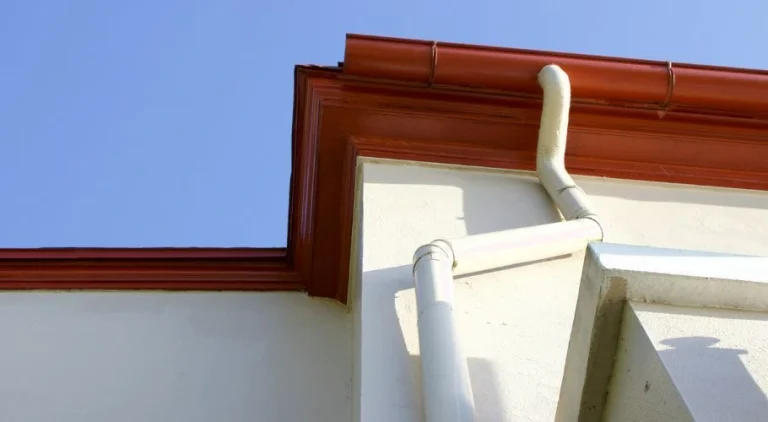
5. Drip Edge Flashing
This sits along the roof edge and keeps water from curling under the shingles and damaging your fascia. It also helps direct water into your gutters.
6. Pipe Boot Flashing
You’ll find this around plumbing vent pipes poking through the roof. It’s got a flexible rubber collar to hug the pipe and a metal base that tucks under the shingles.
7. Headwall Flashing
Headwall flashing is for the part of your roof that meets a flat, vertical surface at the top of the slope. It tucks up under siding and out over shingles to guide water safely downward.
8. Valley Flashing
This type of flashing is placed where two slopes meet, called a roof valley. Valley flashing is a long metal piece inserted under shingles to handle the heavy flow of water that races down the roof slopes.
9. Continuous Flashing or Apron Flashing
This is used where the roof meets vertical walls or surfaces but doesn’t have slopes, like the bottom edge of a dormer. It’s one long strip that works like a water barrier apron.
10. Kickout Flashing
Tiny but mighty. You usually install kickout flashing at the junction where a roof edge meets a side wall and helps “kick” water away from the siding and into the gutter.
Most Common Roof Flashing Materials
Metal flashing is the most popular material here in Oklahoma City. These are the top three:
1. Copper Roof Flashing
Copper looks sharp, weathers beautifully, and can last 60-100 years. However, it’s quite pricey. You’ll often see it on high-end homes or historic properties. Additionally, it’s naturally resistant to mold and algae.
2. Galvanized Steel Flashing
Galvanized steel is affordable, strong, and rust-resistant thanks to a zinc coating. It has a good lifespan of about 15-25 years with proper installation.
3. Aluminum Flashing
Aluminum is lightweight and easy to work with. It won’t rust, but it’s more prone to denting and isn’t always the best fit for high-wind zones unless properly secured. Similar to galvanized steel, it has a 15-20 year lifespan.
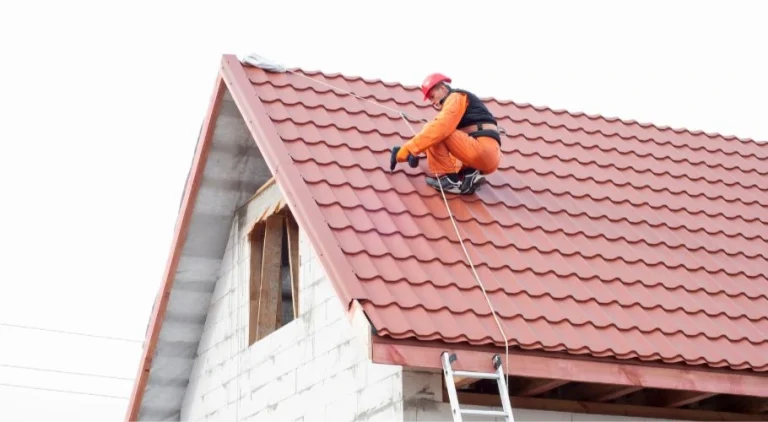
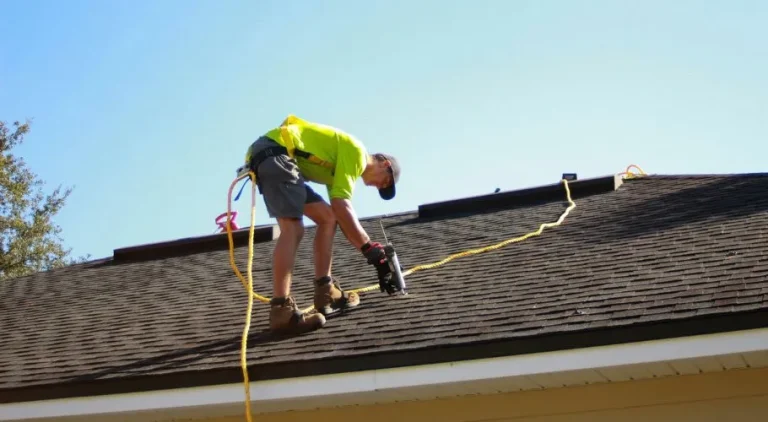
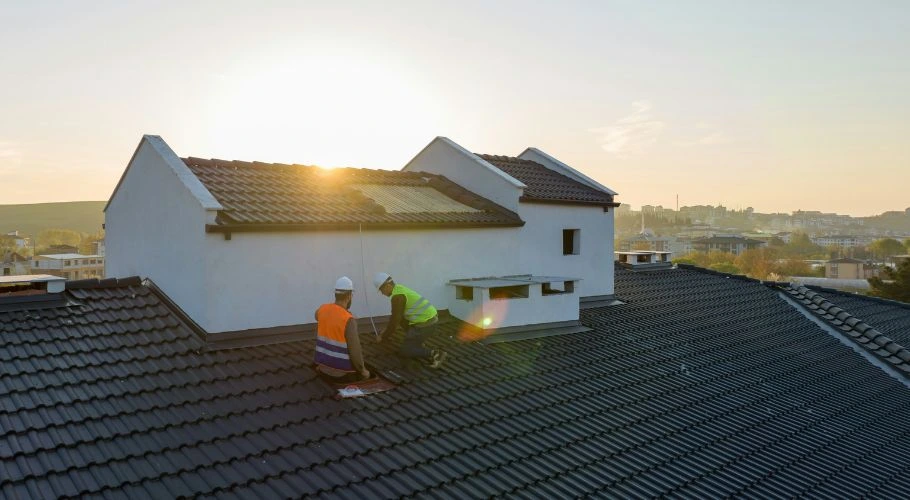
How Is Roof Flashing Installed?
What does a proper flashing installation process for roof flashing look like when done by a roofing professional? Skill, the right sequence, and a solid understanding of how water flows are important to install roof flashing that lasts.
The general process usually follows these steps:
First, the area is prepped. Roof shingles or siding may be temporarily removed.
Flashing is placed so that it overlaps in the right direction. The goal is to make sure that water flows over rather than under.
Then, the material is nailed down carefully, only in places where water won’t reach the fasteners.
The seams are sealed using roofing cement or metal solder, depending on the material.
Finally, the shingles or siding are layered back on top, tucking just right over the flashing edges.
The finer details of the installation process and the roof flashing sizes depend on the type of flashing being installed and your specific roof features. Chimneys, pipes, valleys, and drip edges all get handled a bit differently. But the goal is always the same, which is to direct water away from the roof’s vulnerable spots and into the gutters or draining systems.
How Long Does Roof Flashing Last?
When installed correctly, flashing can last anywhere from 15 to 80+ years, depending on the material, weather exposure, and maintenance.
Copper: 60-100 years
Steel: 15-25 years
Aluminum: 15-20 years
Here in Oklahoma, flashing materials take more of a beating than they would in milder climates. So, even good flashing might not make it to its full lifespan if it has to withstand harsh weather conditions like hail or repeated freeze-thaw cycles. However, proper maintenance can definitely help you make the most out of your flashing, even in tough circumstances.
Can Roof Flashing Be Reused or Repaired During a Reroof?
Sometimes, yes. If the flashing is in great shape, especially if it’s copper, it might survive even if you get your roof replaced. But if it’s steel and aluminum, it’s often best to replace it during a reroof. Trying to reuse flashing that’s been nailed down, bent, or exposed to the elements for years usually eventually leads to water leaks.
Is Roof Flashing Required by Code?
Yes. Usually, building codes require flashing around roof penetrations, wall intersections, and roof edges. Most local municipalities follow these guidelines or have their own rules that may be slightly different.
Maintenance Tips for Roof Flashing
Maintaining your flashing benefits more than just the flashing itself. In fact, it also helps you maintain your roof’s structural integrity. So, remember not to skip flashing maintenance year-round.
Try these maintenance tips:
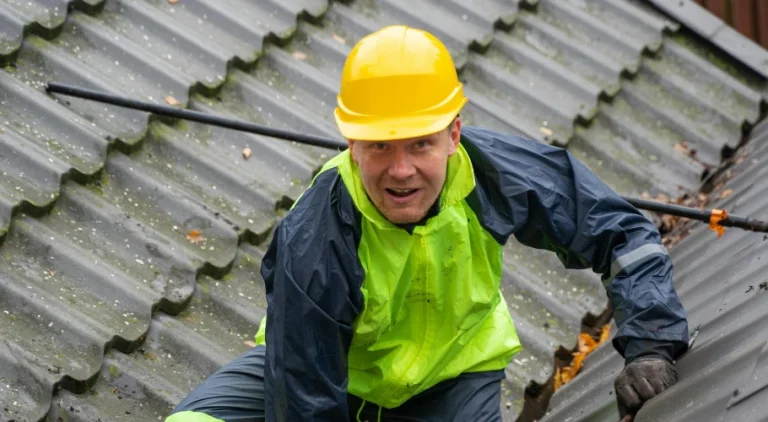
Look for rust, gaps, or loose edges during seasonal roof checkups.
After storms, look for pieces that have been lifted or bent.
Keep gutters clear so water doesn’t back up around drip edges.
Check your attic ceilings for moisture stains. These might point to flashing issues you can’t see from the outside.
Don’t paint over your flashing unless it’s aluminum and made for painting, because paint can trap moisture and cause issues.
Signs of Damaged or Faulty Flashing
We’ve put together a list of some of the early signs that your flashing might be damaged. To prevent costly repairs and major structural damage, be proactive and look out for:
Water stains on ceilings or walls, especially around chimneys or skylights.
Visible rust or corrosion on flashing.
Loose, bent, or missing flashing.
Shingles lifting near joints or roof edges.
Drip marks down the siding below where the roof meets a wall.
DIY vs. Professional Roof Flashing Repairs
If you’re patching a vent pipe boot or adding a dab of roofing sealant, you can usually handle that yourself (as long as you follow safety practices). However, if you need to install new flashing or you’re dealing with tricky flashing around chimneys, valleys, or siding connections, you might need to call a professional roofing contractor or company.
Remember, bad flashing installations are one of the biggest causes of roof leaks, and most of them come from DIY jobs that unfortunately didn’t stand the test of time.
Let Robbins Roofing Handle Your Flashing the Right Way
Not sure if your flashing’s doing its job anymore? Perhaps you need to replace your old ones with new roof flashing, or maybe you just need a good professional checkup. Whatever you need, our team is the top choice for roofing in OKC, for all types of roofing, including asphalt, tile, and metal roofs.
We repair roof flashing, deliver proper installation, and help with maintenance. Call us today and let’s help your flashing fixed right!